
Antique Knife Restoration: Preserving History
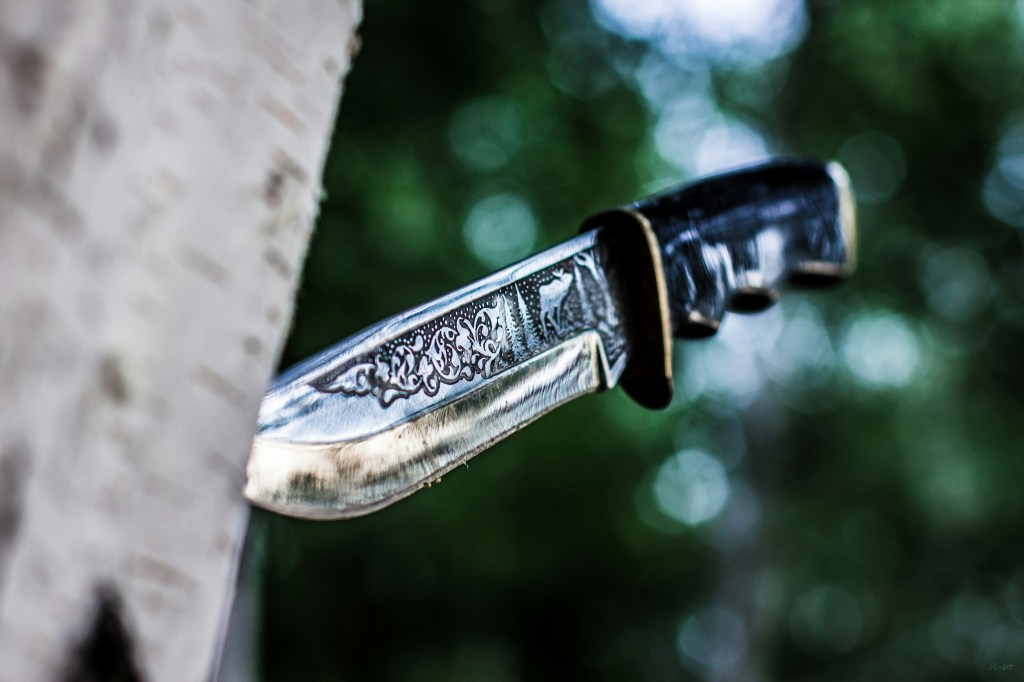
Knife restoration is essential for preserving historical pieces, allowing collectors to maintain the integrity and value of antique knives. Each knife carries a unique story, and restoring these artifacts honors their craftsmanship while keeping them functional and visually appealing.
Maintaining the integrity of antique knives is vital due to their historical and monetary value. Careful restoration ensures these pieces retain their character and prevents devaluation from improper techniques.
Popular restoration techniques include cleaning and polishing blades, replacing damaged components, and securing the handles. Using knife repair guides can help newcomers understand the right methods for various knife types and eras.
Whether you’re experienced or just starting, employing proper techniques is key to ensuring these valuable artifacts are appreciated for years to come. Keep reading to learn more about antique knife restoration.
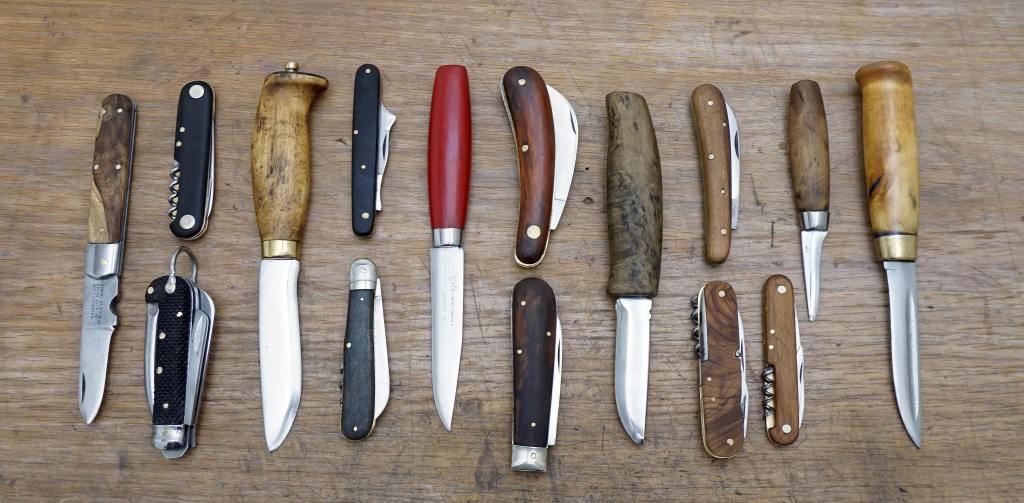
Get to Know Your Knife: Identifying and Understanding Antique Blades
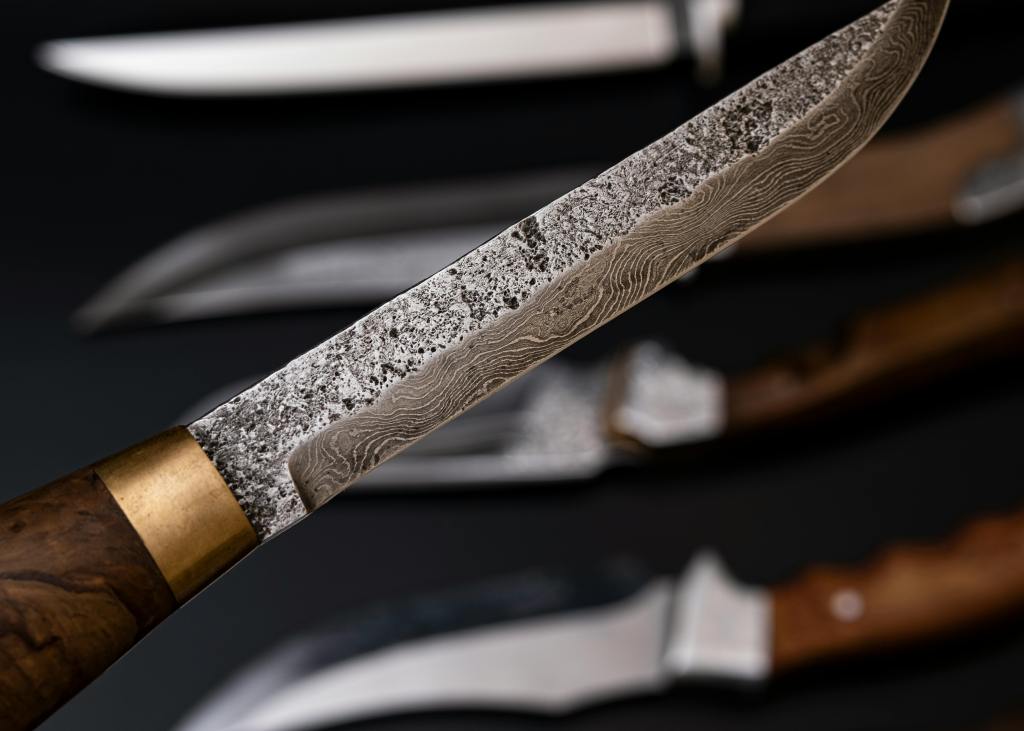
Several key factors can provide valuable insights into your older knife’s age and history. The first step is to examine the knife closely for the maker’s marks, logos, and any unique features that set it apart.
These distinctive elements are not just decorative; they can reveal the vintage blade’s origin, the craftsman’s identity, and the time period in which it was made.
Significance of maker’s marks and unique features
Maker’s marks, logos, and unique features are essential when identifying a knife’s history. They can give you clues about when and where the knife was created, what techniques were employed during its manufacture, and the overall value associated with the brand or craftsman.
Attention to these details can help you identify the knife’s craftsmanship and engage in informed discussions about its worth.
Evaluating the blade’s condition and authenticity
When assessing a knife’s condition, it’s important to look for signs that indicate authenticity. One useful rule is that if a maker’s mark is missing, the knife may be a copy or reproduction.
Authentic knives often have a cohesive design, and any inconsistencies can be a red flag. Evaluating the blade’s condition involves checking for wear, rust, or damage, all of which can influence its value.
Tips for researching knives
Consider these practical tips to gather more information about your knife. First thing, investing time in research can yield significant rewards. Look for good reference books that cover knife history, obscure maker’s marks, and other fascinating facts.
Additionally, visiting knife shows or local antique shops can offer a hands-on experience that enhances your understanding of what makes a knife distinctive.
If you need further expertise, don’t hesitate to consult with professionals in the field. While some may charge a fee for their services, the knowledge and guidance they provide can be invaluable.
Essential Tools and Materials for Knife Restoration
Restoring an old knife can be a rewarding process, and having the right tools is essential for a successful restoration. A comprehensive list of tools and materials will aid in cleaning and preserving your knife. For anyone embarking on a restoration journey, especially if you’ve just found an antique knife, understanding the function of each tool can make a significant difference.
Cleaning supplies
When it comes to cleaning supplies, a soft cloth accompanied by mineral oil is ideal for cleaning the surface. It’s best to rely on manual labor or as many refer to it, “elbow grease,” rather than power tools. This approach offers greater control and helps prevent the removal of the knife’s original patina.
A simple toothpick is invaluable for hard-to-reach areas, such as pivots, back springs, and recessed parts. Additionally, utilizing compressed air can help dislodge excess dirt from intricate spaces.
Preservation supplies
In the preservation phase, applying a protective wax is crucial for maintaining the knife’s surfaces. Renaissance Wax is a commonly recommended product for this purpose, as it provides a durable barrier against the elements.
Restoration supplies
If you’re looking to start the restoration process, the following tools are recommended.
Fine steel wool can effectively change the blade’s finish and is particularly useful for addressing discoloration and mild surface corrosion.
For more intensive restoration needs, a rust eraser can be used to remove patina and light rust, although it’s important to note that it will also alter the blade’s finish. The grit levels of these erasers vary, so choosing the right one depends on the specific outcome you’re aiming for.
Lastly, automotive sandpaper is beneficial for tackling rust and other surface issues. It’s wise to start with grits of 400, 600, 800, or 1000. For those using a grit of 800 or higher, employing the technique of wet sanding with water can help keep the paper from clogging and improve the overall effectiveness of the process.
Step-by-Step Knife Restoration Guide
Removing Rust from Your Antique Knife
Rust can be a nuisance, especially when it involves valuable tools like knives and antique pocket knives. This guide outlines a step-by-step process for removing rust without damaging the blade, ensuring your pocket knives are restored and ready for use.
Initial cleaning
Before tackling the rust, it’s essential to clean the blade thoroughly. Start by removing all dust, dirt, and grime. This will create a clear working surface and make the rust-removal process more effective.
If the knife has blade joints, it’s a good idea to spray these areas with penetrating oil to loosen any accumulated grime that vintage knives often collect.
Rust removal techniques
To remove rust, gather appropriate supplies such as penetrating oils and sandpaper. The approach you take will depend on your specific goals. As you begin sanding, be sure to periodically wipe and clean the surface to monitor your progress and avoid further damage.
For hard-to-reach areas, a toothpick or a brass brush can be quite effective. Some recommend applying additional penetrating oil to target stubborn rust spots and grime.
Final cleaning and touch-ups
As you complete the rust removal process, continuously wipe the blade clean. Once you’ve eliminated all rust, use a clean cloth to give the blade a final clean. This is the perfect time to sharpen the blade.
Finishing touches
Once you’ve sharpened the blade (if desired), apply a metal polish with a separate cloth to restore shine and protection. This final step enhances the appearance of your knife and helps prevent future rust formation.
With these steps completed, your knife will be rejuvenated and ready for its next adventure!
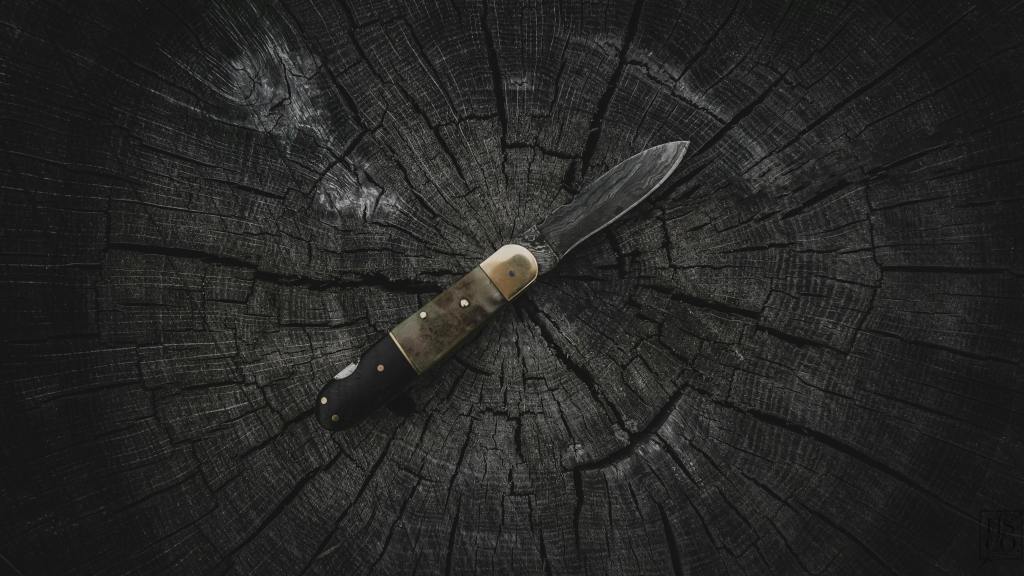
Refurbishing Wooden Handles: Bringing New Life to Old Grips
Refurbishing wooden knife handles can breathe new life into your favorite vintage knife. If your knife has a wooden handle and you’re looking to bring it back to glory, this step-by-step guide will help you through the process.
First, you’ll need some essential supplies: wood cleaner, steel wool, sandpaper, wood stain, polyurethane, and a clean cloth.
Cleaning process
Start with the cleaning process. Use a wood cleaner to thoroughly clean the handle, ensuring that all dirt and gunk are removed. This step is crucial, as a clean surface prepares the wood for the restoration process.
Sanding
After the handle is nice and clean, it’s time to sand it down. This will help remove any uneven areas or rough spots. For a smooth surface, use fine-grit sandpaper to gently sand the handle.
Staining and protective sealing
Once the handle is sanded, you can apply a wood stain. Using a clean rag, apply the stain according to the instructions provided, keeping an eye on the drying times. Proper application will enhance the wood’s natural beauty.
After the stain has completely dried, add a protective coating, such as polyurethane or another sealant, following the instructions on the bottle carefully.
Finishing touches
Finally, to achieve a nice and smooth finish, buff the handle with fine-grit sandpaper or steel wool. This final touch will enhance the wood’s appearance and improve usability, making your refurbished knife handle comfortable and visually appealing.
Straightening a Curved Knife Edge: Techniques for Restoring Sharpness
Over time, knife edges may curve due to wear and tear, making them less effective for cutting. This curvature can occur from regular use, improper storage, or exposure to elements that affect the blade’s integrity.
The importance of knife maintenance
Learning how to straighten a curved edge can be a valuable skill for those who have a knife that has probably seen straighter days. However, straightening knives requires a certain level of skill. It is not recommended for beginners, as it involves techniques such as using a sharpening stone or honing rod, which can be tricky to master without prior experience.
Gathering the right materials
If you are determined to embark on this task, it’s essential to gather the right materials first. You will need pliers, a file, and honing steel.
Securing the knife
The first step involves securely placing the knife in the vice, ensuring the edge is facing up. Make sure the knife is held firmly in place to prevent any movement. Always remember that knives are one of the most dangerous tools; exercise caution throughout the process.
Straightening the blade
To straighten the edge, gently use the pliers to bend the blade back toward its original shape. Be careful not to apply too much pressure, as putting too much can damage the blade.
Filing the edge
Once the edge is straightened, take the file and hold it at a slight angle. Run it along the tip towards the handle, maintaining a level position while filing both sides evenly.
Honing for sharpness
The final step is to use the honing steel, which should also be held at a slight angle. Run it along the blade edge, keeping the same angle as you work down to restore the knife’s sharpness and strength.
Sharpening a Restored Knife: Techniques for a Razor-Sharp Edge
Sharpening a restored blade requires careful attention to detail and the right tools. This step-by-step guide will help you navigate the process effectively.
Understanding the importance of sharpening tools and methods, such as stones and strops, is essential for maintaining knife function and appearance. For knife restoration, especially antique pieces, using the right materials—like sharpening stones, honing steels, and a cleaning cloth—can make a significant difference.
Varying sharpening techniques
It’s important to note that depending on the blade, some sharpening methods may vary. For example, stones and strops may serve different needs based on the knife’s condition. For a deeper dive into this topic, our blog “Knife Maintenance Kits: Keeping Blades in Prime Condition” offers valuable insights into various sharpening techniques.
In this guide, we will focus specifically on the method of using a sharpening stone and honing steel.
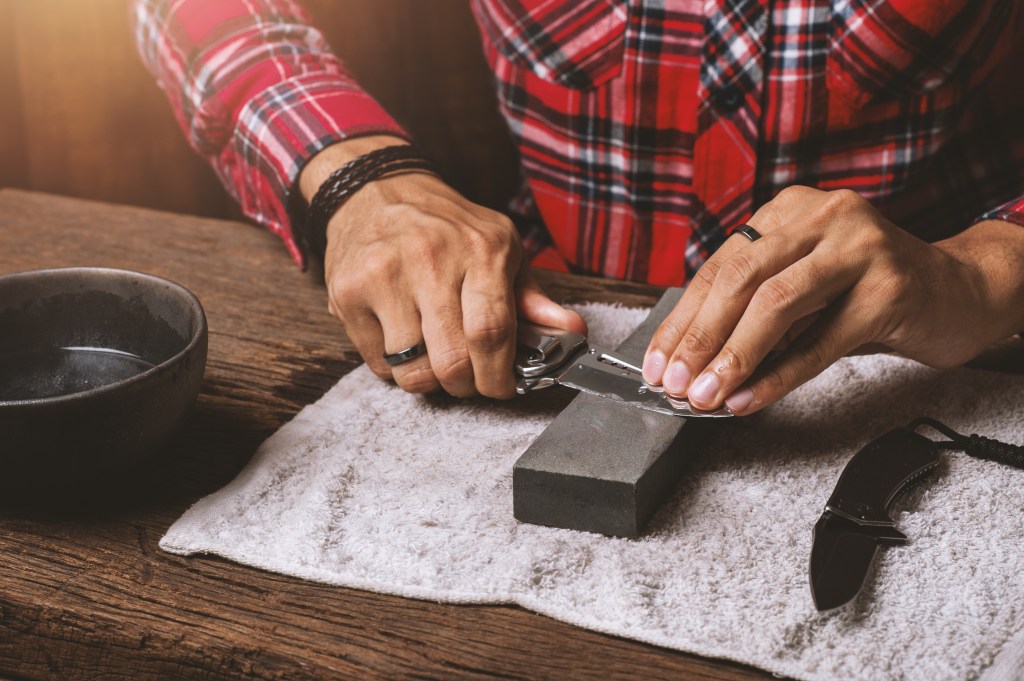
Using a sharpening stone
Begin with the sharpening stone, which generally features two sides: a coarse side and a fine-grit side. Start with the coarse side, holding the knife at a 20-degree angle. Run the blade over the stone in a sweeping motion, being careful to maintain the angle as you repeat this process. After that, flip the stone to its fine-grit side and refine the edge using the same sweeping motion.
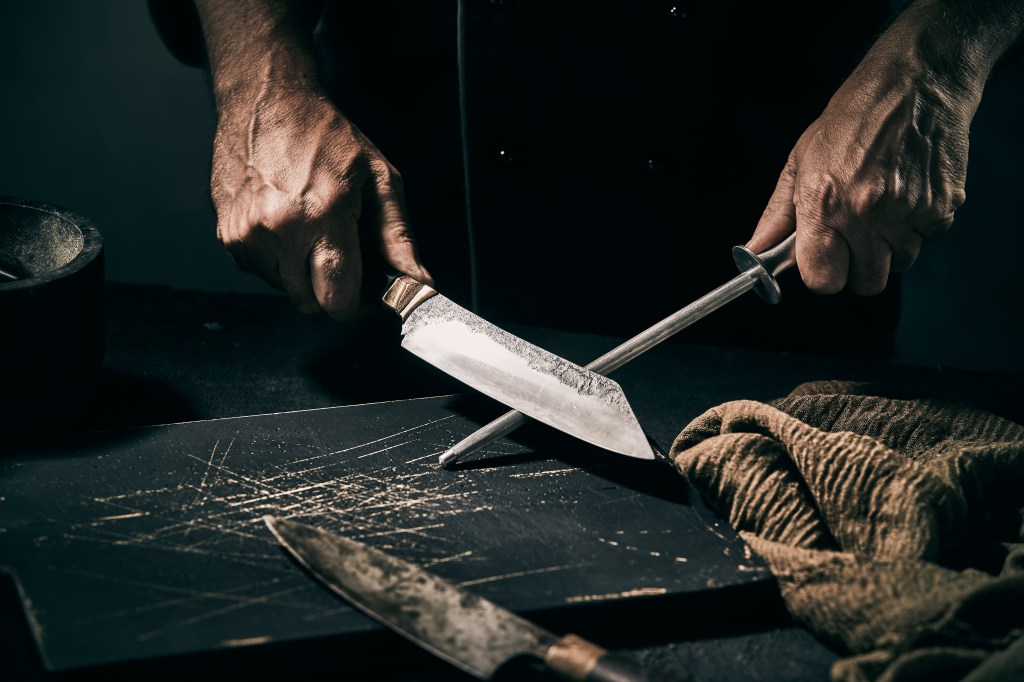
Incorporating the honing steel
Next, incorporate the honing steel to realign the blade’s edge. Hold the steel at a 20-degree angle and position it against the base of the blade. As you draw the blade down the steel, ensure that you keep the angle steady throughout the motion.
Testing sharpness and final steps
Once you’ve completed these steps, test the sharpness of the edge by slicing through a tomato or a piece of paper—this will help you determine if your sharpening was successful. Finally, don’t forget to clean your knife thoroughly, dry it, and store it safely.
If you’re looking for additional tips on safe knife storage, be sure to check out our blog, “Knife Safety: Essential Guidelines for Responsible Use.”
Conclusion: The Value of Restoring Antique Knives
Restoring antique knives is essential for preserving their rich history and the stories they carry. Each blade reflects its era and craftsmanship, allowing enthusiasts to connect deeply with these artifacts.
However, it’s important to approach restoration with respect for the knife’s unique character, ensuring enhancements do not erase its legacy. By finding this balance, we can enjoy the functionality and beauty of restored knives while honoring their historical significance.
Sources
https://www.kiwiblade.co.nz/post/restoring-old-knives-things-to-consider
https://www.artofmanliness.com/skills/how-to/how-to-restore-a-vintage-antique-pocket-knife/